top of page


GARYEOW GARYLEI ARCHITECTURE
x
COMPUTER APPLICATION WORK IN PROGRESS
PROJECT 1
PROJECT 1 served as an assignment for student to expose to the basics of the architectural softwares such as 3dsmax and Rhinoceros and etc. As the final outcome, students are required to produce a basic computerized 3D model of selected building.
I chose my final project in Architectural Studio 2, which is a bamboo house for writer(s).


Launching AutoCad...for scale and "tracing" before making models.
Before send to AutoCad, i use Photoshop to straighten the floor plans that i took from previous presentation board.
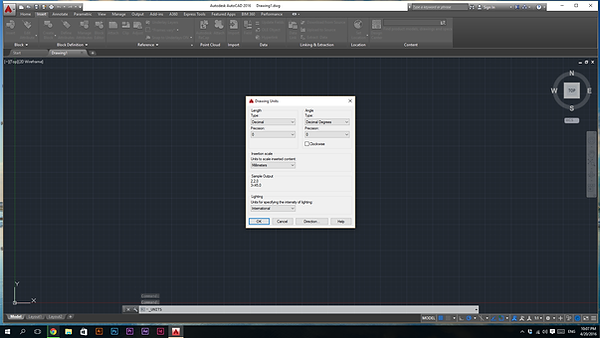
In AutoCad, scale the Unit to mm and precision of 0.
Draw a line on the plan as a reference to align to the real scale.
Draw a line on the plan as a reference to align to the real scale.
Ground floor plan. Since the bamboos wall measurement hardly to be seen, i just draw the outline of the building, where the bamboos will be produce soon in 3DsMax.
First floor plan
Green :Ground floor plan
Red :First floor plan
Purple:Second floor plan
White (top to bottom):
-West ele.
-East ele.
-South ele.


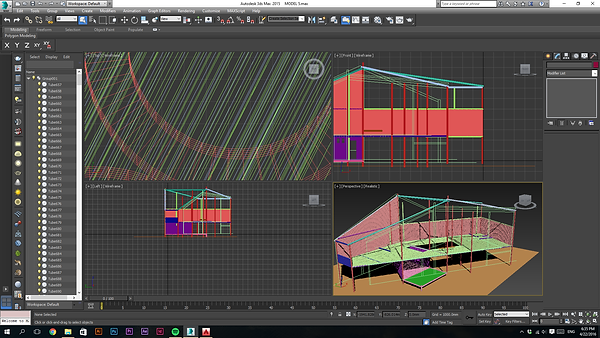
Start working with 3dsmax!
Make sure the unit is mm.
Import ground floor plan and west elevation.
Rotate the elevation plan and snap to the floor plan.
Floor plan for horizontal(width), while elevation for vertical (height)
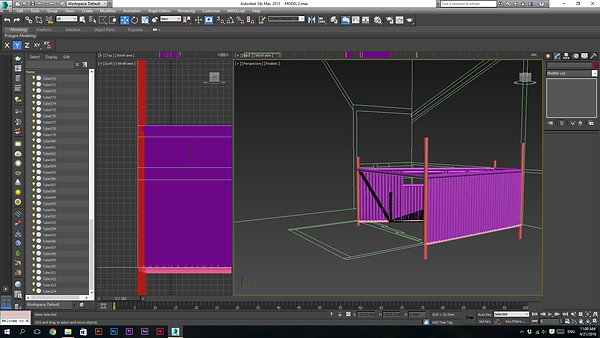
Draw a tube of 70mm for outer radius, where 50mm for inner radius. Then snap to the floor plan corner.
The bamboo served as column for building.
Convert the column into Editable poly.
Bound over the vertex of the bamboo top and pull to same level as the elevation height.
Go to Tools, and select array to create more bamboos along the axis.
Adjust the X distance(under Move) to decide the spacing between each bamboo, i use 140mm as the distance so that bamboos are actually attached to each other closely as wall.
Perspective view of the bamboo wall.
For the wall that is slanted toward other angles (not 90 degree), I use both X and Y axis to get the correct angle.
Space created between bamboos for void (window)
Columns, beams and walls can be seen clearly.
Put on the supporting bamboo for window void.
Extend the structure for terrace.


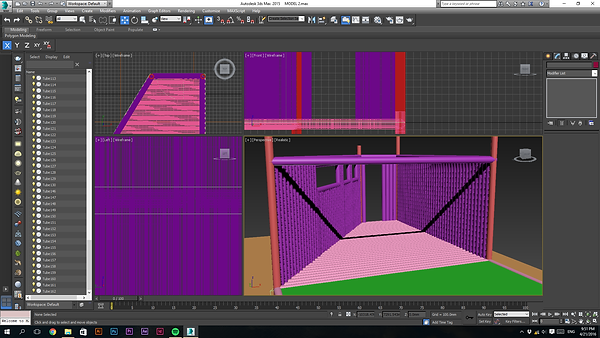


View of Ground floor structure.
Wood flooring added (green color plane)
Copy and paste the bamboo to fill the flooring
Adjust the length of bamboo into the area within.
Interior view
Extend columns for further connection on first floor plan
Extend columns for further connection on first floor plan
Connect roof beam between columns as limit line for bamboo wall
First floor beam connected between columns
Further roof beam modelling
Skeleton structure for staircase opening from ground floor to first floor
Put on bamboos for balcony flooring
Put on bamboos for first floor living room


bird eye view on model
Flooring for walkway.
Flooring for walkway.
Flooring for walkway.
Flooring for first floor, basically using copy and paste, and array(if along axis)
Roof beam above balcony (blue color)
Copy from the floor beam below, simply copy and move along Z axis
Building guardrail for balcony


Extrude bamboo to reach the intersection point betwee roof beam
Bird eye view of model
Start to build the bedroom wall
Adjusting the angel of roof beam
Window guardrail of bedroom
After putting on the floor joist of bedroom (second floor), hide the other elements so that can see more clear on first floor toilet wall modelling
Create void for kitchen
Hide other unselected, focus on modelling second floor toilet wall
Copy and past more bamboos to do wall.
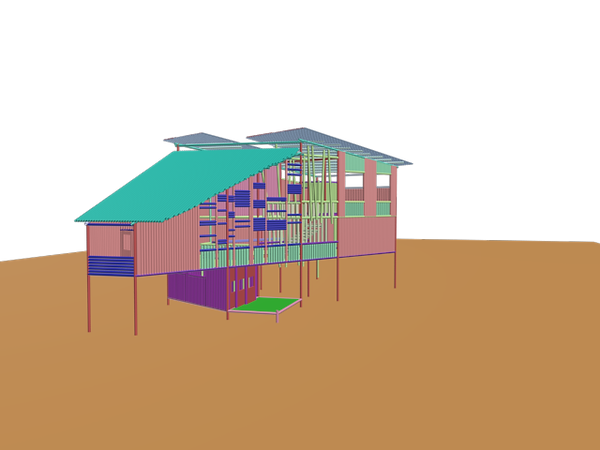
Over view of model without roof.
Modelling a folding door, which will be snap/ attach to building after done
Folding door attached between the living room and balcony
Creating shades
Over view.
Test rendering #1
Hide unselection, and making staircase steps.
Sliding door.
Staircase between first and second floor
Unhide all to see overall building looking
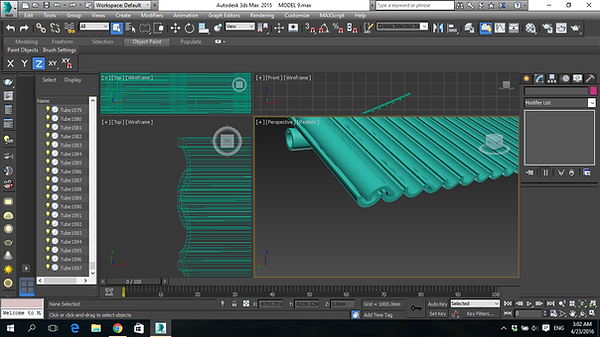
Put on rafters above roof beam
Create tube of the same measurement as above and slice it on about half for roofing panels.
Array and create a whole piece
Inverted roofing panel added to enhance rain water flowing.
Adjusting the move transform.
Test rendering #2
Almost done!!!
Set Vray Physical camera to experince the interior
Different views on building


Create a plane for contour
Adjust the appropriate dimensions (area)
Convert the plane into editable poly
Move, rotate the selection by vertex/edge/surface
Realistc view and turn on modifier TurboSmooth
Download door handle from archive3d.net
Test rendering on door
Interior rendering
Interior rendering


bottom of page